Thursday, 28 February 2019

February........

It might be the shortest month of the year, but this one's been a real drag and I'm glad to see the back of it!!
Complete days have been wasted because bankers and solicitors have had me jumping through hoops, and on top of that we've had yet more problems with our van - today's trip to the mechanics will probably be its last since we're now actively looking for a replacement. Thankfully it's not all bad news, but the arrival of a new kitten has also impacted on my hobby time due to the "man cave" being used to store all the 'stuff' that wasn't deemed to be kitten friendly (and according to Mrs G, that's a LOT of stuff!!)
Anyhow, the lesson I've learned from the experience is to give up making predictions about what and when specific topics will be appearing here on the blog - it seems that every time I do, something crops up to scupper my plans....... cause and effect?!?!

Anyhow, first off you'd better say hello to our new addition "Arwen"

and here (finally) are the photo's Ivor requested all those weeks ago! (I've only included a few, otherwise it would be a bit of a spoiler for the game reports).........
....all adventures in Forbidden Fortress start on the entrance tile (I've positioned a couple of Reaper Bones minis for scale)
 The gaming area is created by drawing cards from the map deck,
 which contains corridors like these examples,
 and rooms like these,
 as well as other features like this one,
 and here's its corresponding tile.
 The artwork on all of the tiles is equally impressive, and all of them are double-sided, printed on good quality card.

So, "Farewell February" and March is already looking better - 'retail therapy' (as well as a meet-up with fellow blogger Vagabond) at the Hammerhead show in Newark is this Saturday!

Monday, 21 January 2019

Forbidden Fortress

As soon as I read the description:~
"A fast paced, co-operative (or solo), dungeon crawl boardgame set in war torn Feudal Japan"
                                                                                                                                      I was hooked!

I was totally unaware of this game, and discovered it by accident while googling around looking at self contained solo / co-op games like "Gloomhaven", and "Blackstone Fortress" - I knew I was getting some hobby funds for Christmas, and wondered if any of these games would appeal. I'd got as far as "Shadows Of Brimstone" when my eye caught this box art........

Once I'd read more info on the game, plus watching reviews and "unboxing" vids on youtube, I set about finding the best UK price for a copy, then sat back and awaited the arrival of the (big) box.
When it did, I was amazed by the weight! Forbidden Fortress is packed with double sided floor plans, card decks, counters, dice, rule and scenario books - even a soundtrack cd!!
Oh yes, and miniatures!
I've managed to assemble them all and they're presented below with an AW Miniatures 28mm samurai for size comparison.
The minis do come with their own bases, but since I intend using them in table top games as well as the boxed rpg, I've substituted standard mdf bases appropriately sized to match the rest of my Sengoku period collection.

Here's the Heroes - traveling monk, shugenja, samurai and ninja. Their stat cards for the game are double sided, allowing you to play male or female versions of the four characters. Unfortunately, minis for the gender variants aren't included with the core game, but I'm sure I'll be able to find suitable alternatives
Moving on to the "monsters", these acid drooling Tentacles are single piece castings
The first of the multi part models, the Dishonoured Dead (skeletal samurai - SO cool!)
The Tengu are modelled on the "long nose" version of the myth, unlike the usual "bird head" produced by several other companies
The Oni are posed alongside the "Reaper Bones" model as well as the 28mm samurai to give yet more scale comparison
The Living Statue is huge! (84mm toe to eye)
Last but by no means least, the Harionago, levitating while her animated hair with its barbed tips coils menacingly around her.

The background narrative to the boardgame provides a perfect setting for some fantasy table top games based on this genre, so I'd better get cracking with the painting.

Sorry I'm a bit late with this post, I still feel like I should be hibernating, but am happy to report that I can sense the sap rising and regular blogging should resume henceforth.
Thanks for visiting and as always your comments and questions are very welcome!

Wednesday, 9 January 2019

The Quest

For The last breath of Maeldoraz

First post for 2019, but it features a game we played in 2018 (during the Christmas hols), and is actually continuing an adventure that 'paused' in 2017!
My "Dark Conspiracy" fantasy campaign started life based around  Bluebook D&D for adventures and third edition Warhammer for battles, and was deliberately 'rules lite' for the benefit of the not-too-serious gamers in the little social group.
Dragon Rampant has since replaced Warhammer to provide the campaign battle results, and this game was a test to see if I can use an alternative set of  'dungeon crawler' rules so the campaign can speed up by continuing solo - over a year between episodes is just a little TOO slow!

The Story So Far....The party had been tasked by the Court Mage Nicodemus to recover an artifact (a metal cylinder containing the last breath of Maeldoraz) to prevent any attempt to revive the arch-necromancer.
At the end of the previous session , the party had made it to the chamber where the cylinder should be, but a previously unseen figure dashed up the stairs -
and out of the entrance, triggering a total collapse of the corridor and trapping the heroes,
 with no signs of another exit, and worse still, no sign of the cylinder!
WARNING What follows isn't a complete AAR. Since I was playing "away from home" I didn't have all of my accessories, set dressings etc to really make the game worthy of presentation - it's here in context of the rules change, and a mere 'taster' of what's to come.

Continuing The Tale.... A proper search of the chamber revealed a doorway under the stairs.....
a small room obviously occupied by the warden who had trapped them down here.
There was a lantern and oil flasks, plus some food rations and drinking water, along with reading, and presumably study material related to dark magik. A chest also contained two large red gemstones,
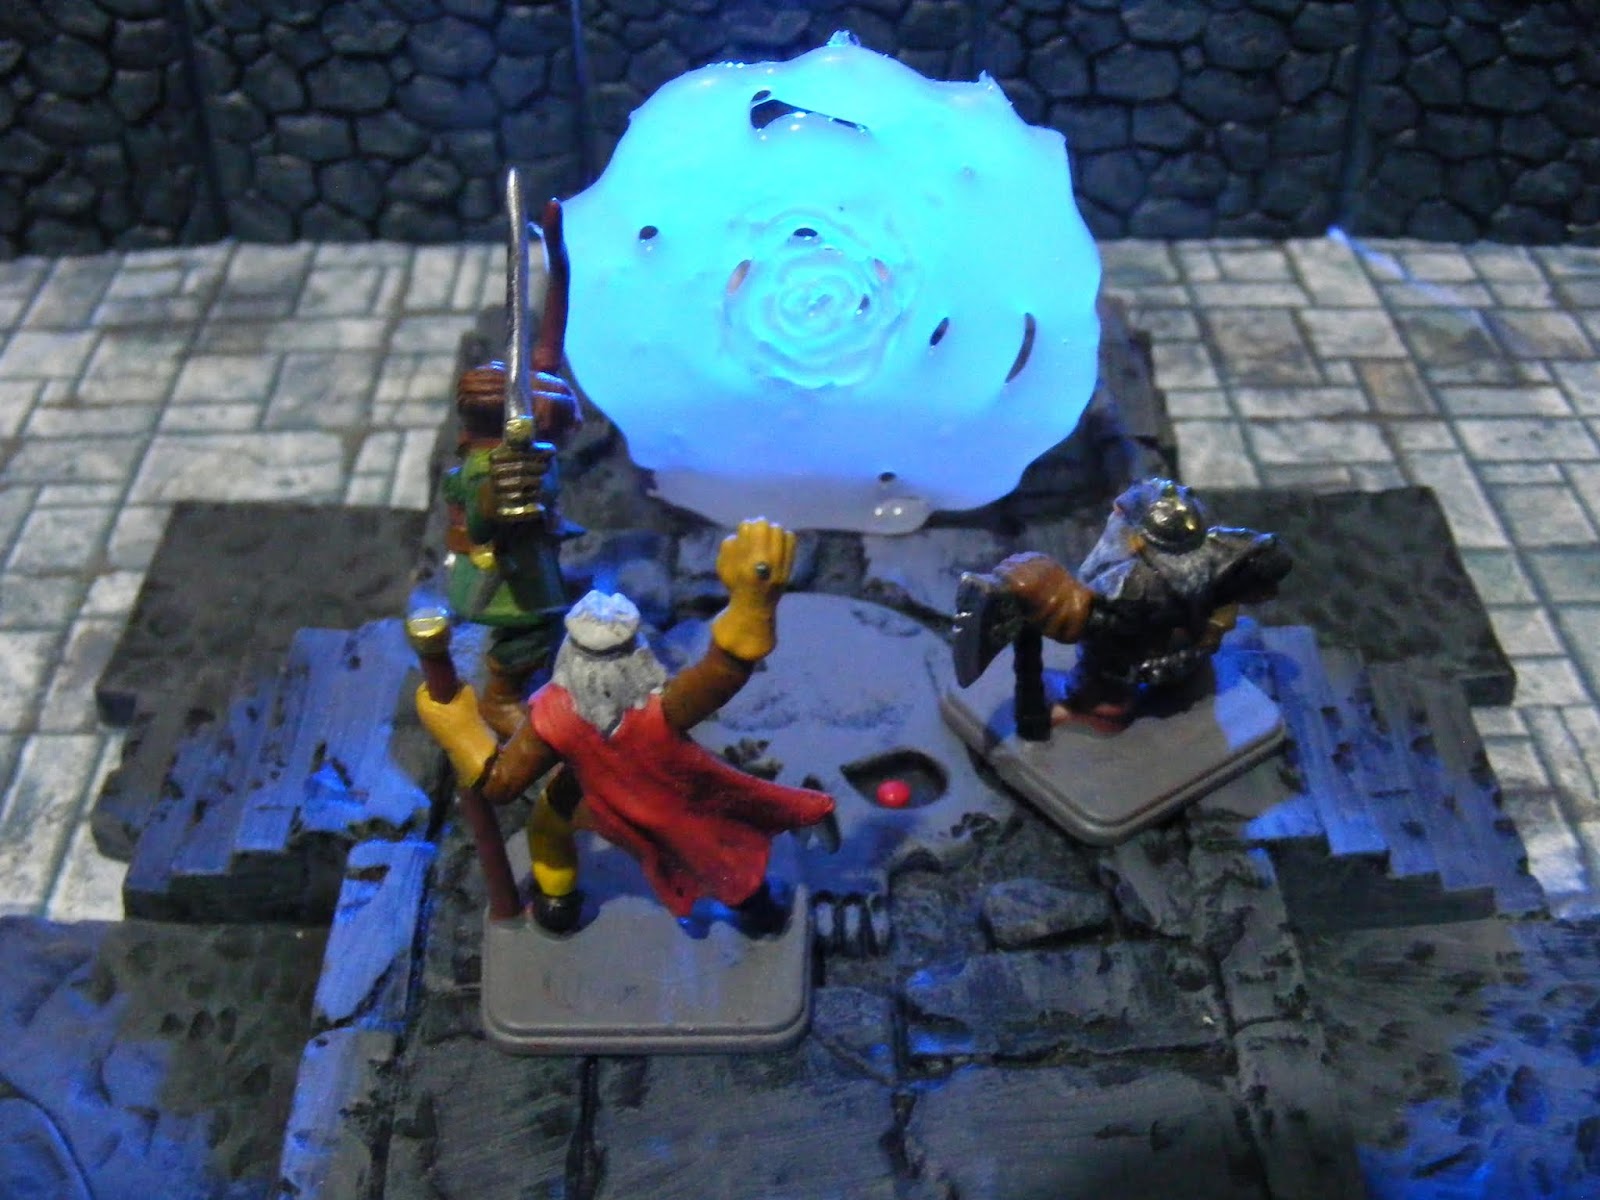
After some deliberation, they decided to see what would happen if the stones were placed in the eye sockets of the carved skull.
The idea proved to be right, as a portal materialized in front of them.
 After examining the portal as best they could (throwing a stone into it!), Pendora mustered her faith and led the party into the unknown.
~
Up to this point, everything had been previously scripted by myself while creating the dungeon to run as DM for the group. From here, I let "Four Against Darkness" take over. The system generated the dungeon and its contents, which I simply "narrated" for the group while I took it for a test drive.

Stepping through the portal, the group found themselves in another chamber with nothing but a single closed door.
Happy to be out of room they'd been trapped in, they now set about where they actually were.
The exit opened into a corridor, with another door diagonally opposite.
Opening this door revealed a room containing a chest .....
and another (locked) door.
No one was keen to open the chest and risk setting off another trap, the party deciding it was better to first explore their surroundings and then return to this room later if they got the chance (and also regretted not bringing along a Thief character!).
Heading back into the corridor, they proceeded along to the door at the end.......
where they encountered an ogre!
The adventurers seized the initiative and attacked,
and the ensuing melee went well - both for the party and as far as my 'trial' of the rules, since I wasn't looking forward to swapping the polyhedral dice (SO D&D) for simple D6's, but was pleasantly surprised with how well the system works.
Finding nothing of value in the room, the party chose one of the two exits and headed further into the dungeon, arriving at a four-way junction where they were confronted by some nasty looking huge rats.
The rats were obviously unhappy about the nasty looking adventurers which had appeared, because they fled and left the junction clear.
Having chosen which direction to take, the party continued along the corridor and after a while found two doors facing each other on either side. From the left was easily heard noise of movement and some kind of guttural speech (which sounded like goblins). The opposite door was locked, so they opened the one with the noises behind........
....and a HUGE scrap ensued!
Once again, I was more than happy with how the system handled the melee, so "Four Against Darkness" (4AD) received another tick-in-the-box from me.
Goblins might be a bit stupid, but 4AD certainly isn't, and the system worked wonderfully again as the gobbo's broke and fled.
The goblin's escape route went up a flight of stairs, so could possibly lead towards an exit, but at this point the adventurers decided to head back to the room containing the chest - the thought that it might contain the cylinder if it had been taken through the portal for hiding had been nagging them. Before they could find out though, they had to get past a Carrion Crawler which was prowling the corridors looking for a meal!

And at this point I'm going to break off from the tale - as I said at the start, this post was never intended to be a "narrative AAR" (and since it was very much a 'beer & pretzels' session the photo's got much worse from this point onwards!), but a general overview of how I'm running my dungeon adventures, and as well as a mention of the rules, I'd like to showcase how I represent the game on the table.
As much as I'm a big fan of the eye candy that some players produce using products like Dwarven Forge to lay out table-spanning dungeons, I've always DM'd by only presenting the players with what they can "see" on the table top - taking it up as they progress and forcing them to memorise / map or run the real risk of getting lost. This is really easy when using a 2 dimensional tile system, but creates a bit of a challenge in 3D.
Years ago, I bought some "WizzKids" sets, but wasn't a fan of the peg hole's which gridded the floor sections - they restricted the layout and all the 'unused' holes just spoiled the look in my opinion,
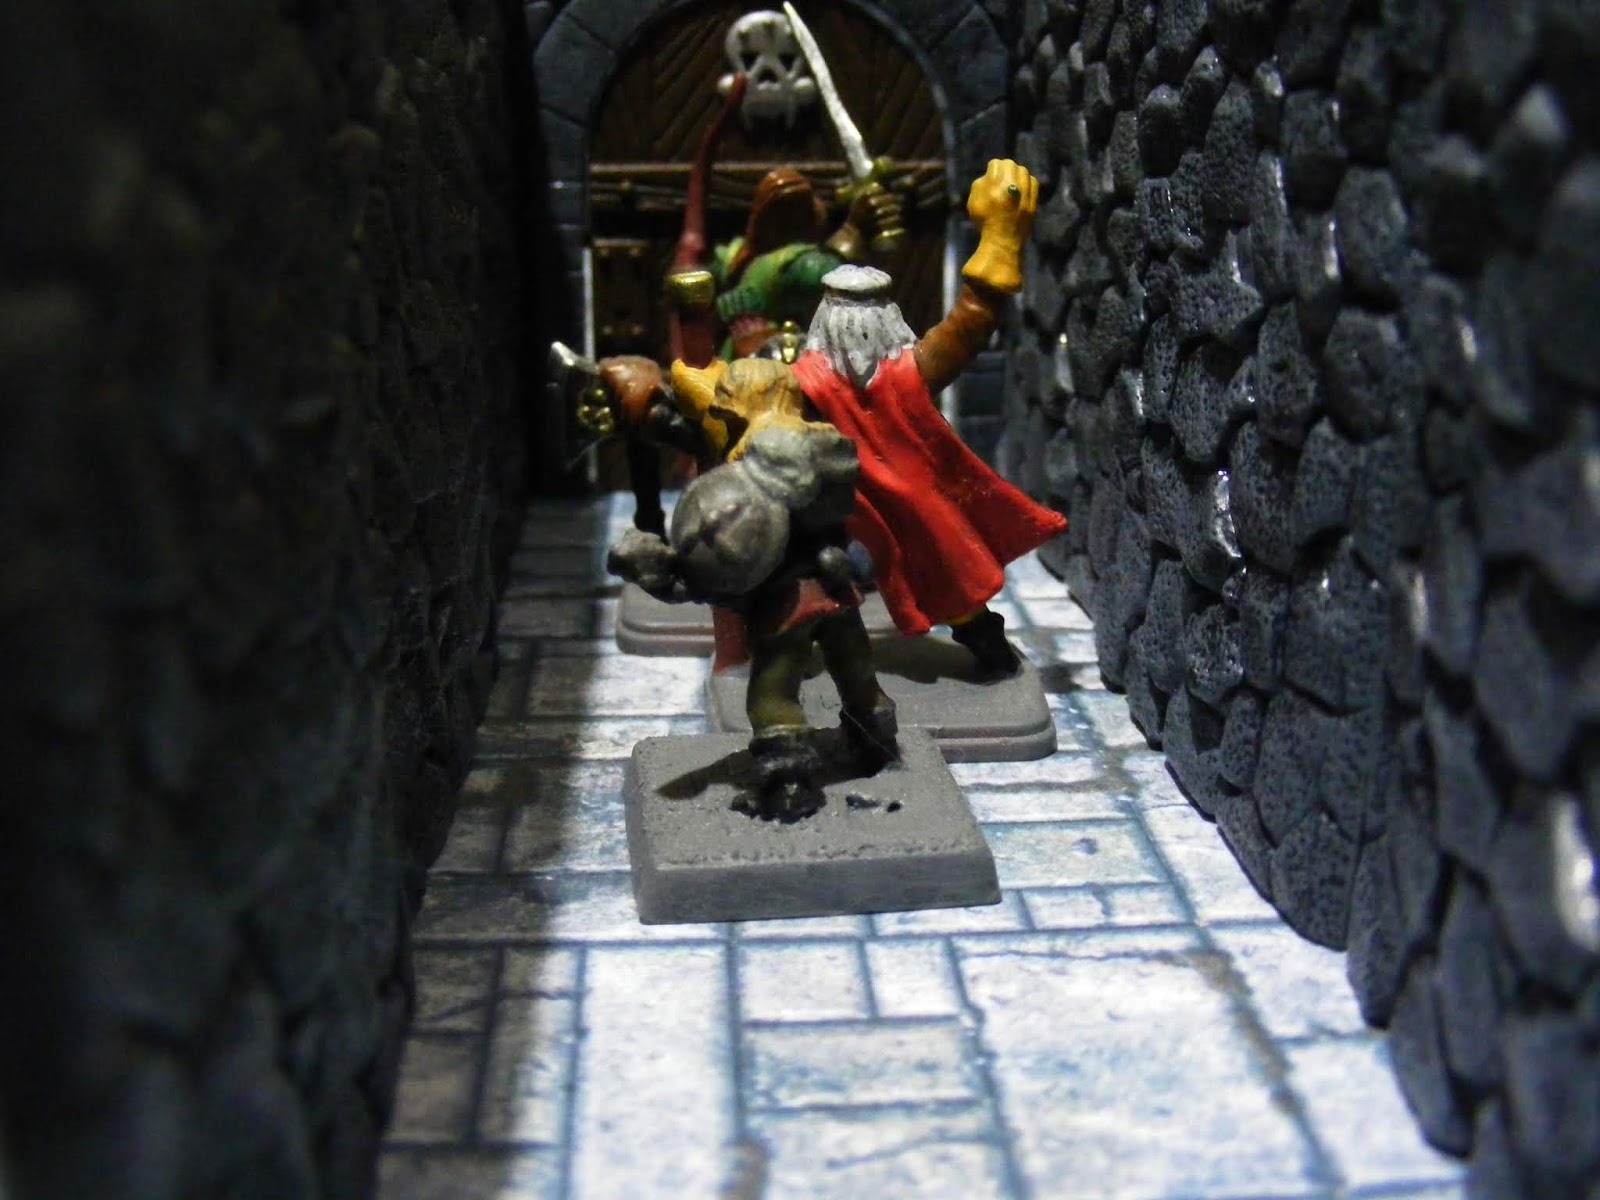
so I decided to cut off the pegs (which were prone to snapping off anyway!) and replaced them with tiny magnets which I glued into holes I'd drilled out for the purpose.
I bought one of those "magnetic" notice boards from Wilkos and covered it with printed 'dungeon tiles' from Fat Dragon Games and simply set up the dungeon areas with a selection of wall and door sections - here's how the ogre encounter above was done.
I thought I'd been quite clever, but later found (by accident late one night while rooting around on ebay) that something similar had already been done...

I loved the "Old Skool" look of the artwork, and the guy was selling two sets worth of bits in one box at a great price, so I bolstered my dungeon with them - even though I'm not overly keen on the bases of the dungeon sections!

That just about wraps this post up, apart from a mention that I have one more solo system to try out.....
and will feature it in a future post. In the meantime though, a belated Christmas present has just arrived and I'm itching to get it opened!! Suffice to say that it will be the topic of conversation for the next entry on the blog!
Thanks for visiting, and as ever your comments, questions, suggestions or criticisms are more than welcome.


Monday, 31 December 2018

Learn from yesterday,

 live for today, hope for tomorrow. — Albert Einstein


With 2019 just around the corner, I'd like to wish all my fellow bloggers a magical time in the New Year!

Friday, 28 December 2018

An Encounter at Arithdale continued

I hope everyone had a thoroughly enjoyable Christmas, and as well as plenty of festive cheer you were all deemed to have been good enough to receive some goodies from Santa!

All went according to the "grand plan" here at TWA Towers, and I managed to get some gaming time (albeit in short sessions) to continue the game from the previous post: Part One


The group of musketeers who had left the lane made their way forward - and promptly encountered the first PEF which was skulking along the hedgerow
the hidden enemy turned out to be Old Mother Bankes "pets" - Rogue and Josh, her pair of hell hounds!
As the first men rounded the corner of the hedge, they were charged by a pair of vicious looking barghests, mauling the nearest of the men who tried fighting them off with clubbed muskets..
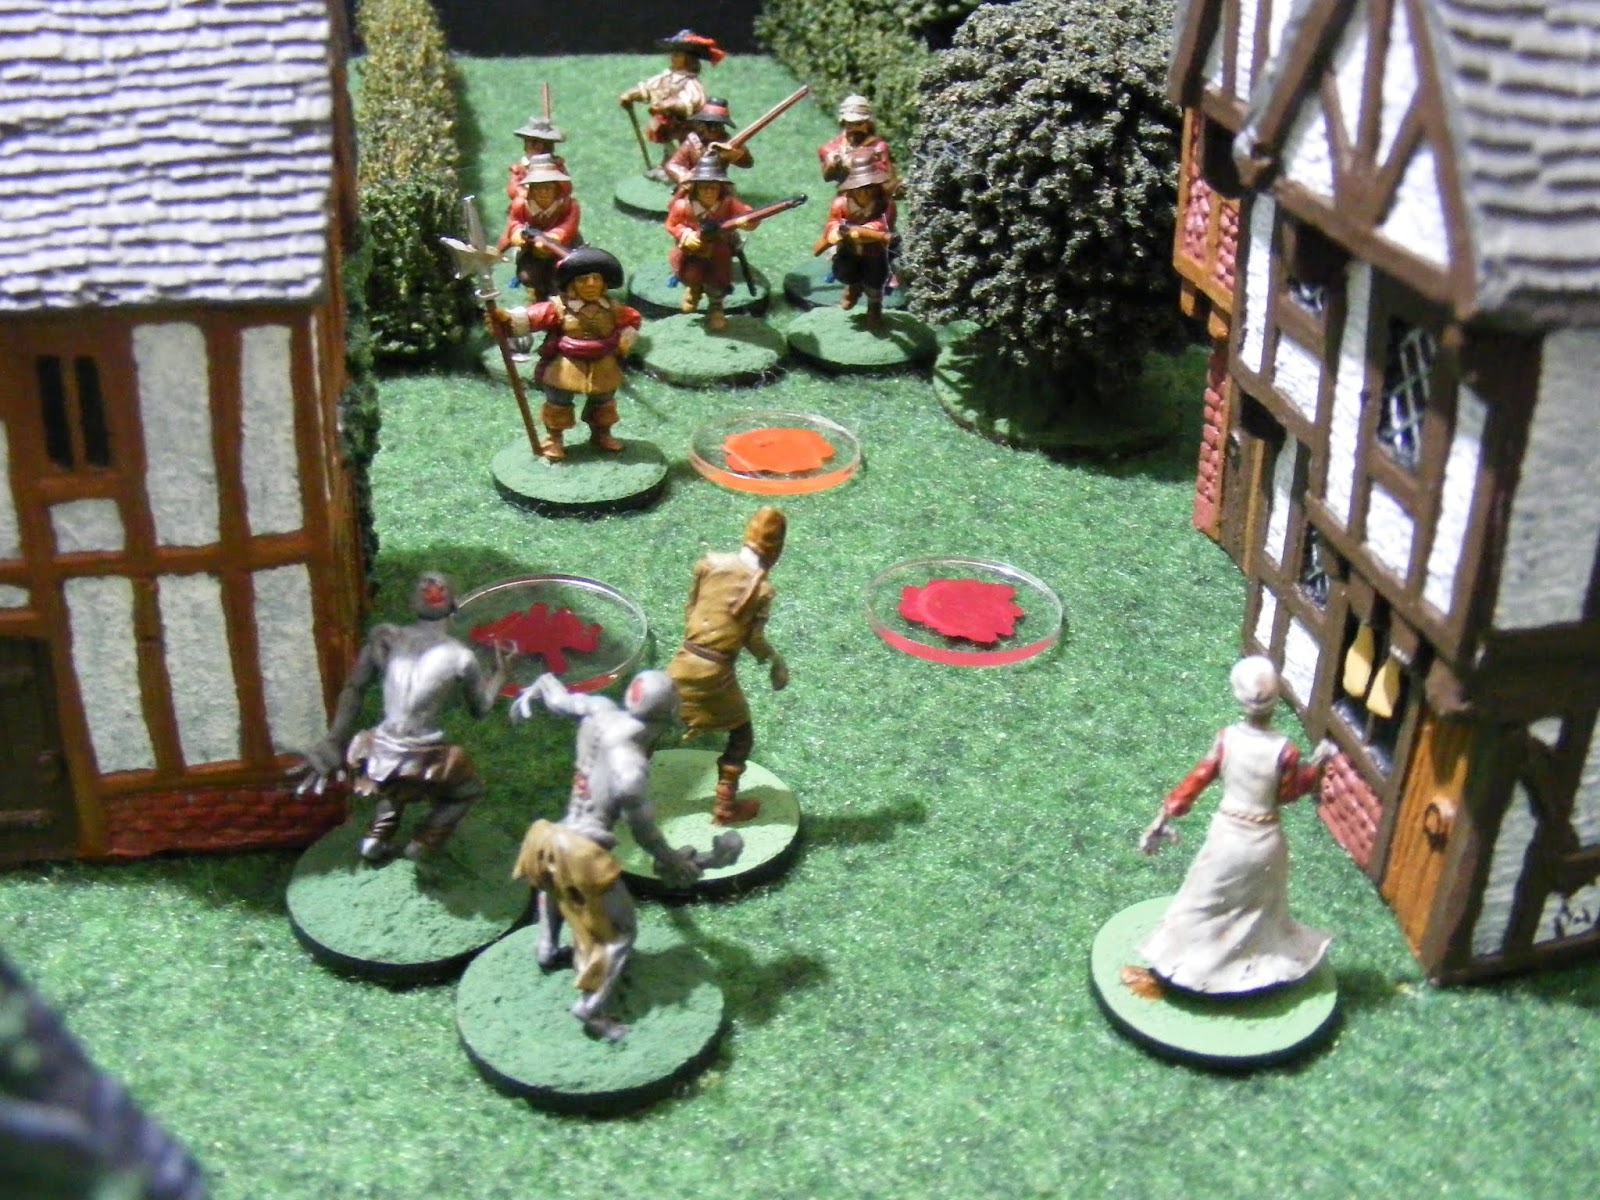
Meanwhile, the remaining ("remains") of the villagers were staggering along the main street of Arithdale towards Sergeant Jones' position at the mouth of the lane (and unseen PEF's lurked on either side of the street)
The fight with the barghests was brutal and very one sided, as the beasts tore into the surprised soldiers. Rogue decapitated his hapless victim, but Josh's opponent managed to fend the beast off - suffering a badly injured arm (which would impede his later actions)
With their blood up, Rogue and Josh followed up their attack (using the barghest "Pounce" ability) with Josh trying to finish off the wounded musketeer and Rogue attacking the next nearest human along the hedgerow.,
and at this point, the Dice Gods decided to intervene in spectacular fashion!
"Fisticuffs" in WfG involves opponents both throwing a pair dice. Red 'Attack' dice (plus appropriate modifiers) are then compared against white 'Defence' dice (plus modifiers) as the combatants "have at it".
The barghest following up on the wounded musketeer threw an appalling pair of 1's and lost the fight despite of the minus 1 modifier due to his wounded arm, while the other Hell Hound had decent dice but the musketeer had a pair of 6's!
Beaten off by their opponents musket butts, Rogue and Josh recoil from the fight.....(ending their go and handing initiative over to the men of the Trained Band)
...giving the two musketeers chance to take aim and fire while their nearest companion also moved into a firing position
Obviously hampered by his mutilated arm, Jeremiah's shot was wide of the mark. Thomas however had inflicted another wound on Rogue
While Jeremiah and Thomas began reloading their pieces, William, now with a clear line of sight, took aim and fired - another hit on Josh, and both abominations were now badly wounded.
How different things would have been if their attack hadn't been stalled!
The second PEF moved into view as it joined the zombie villagers making their way towards the lane
Two more foul abominations step into view,
and Sgt Jones directs the fire once again,
and once again musket balls clearly find their mark but the foul creatures are not killed by them! (three hits but no headshots)
The zombies continue to advance, and the second rank now give fire.
Meanwhile, the third PEF had moved forward along 'back' of the village, and was spotted and identified as a nocterlinger by Hugo -
who returns to the lane to warn Captain Jessop, as another shot is fired at the approaching horrors in the street,
leaving only one zombie standing -
but the nocterlinger has reached the hedgerow and is getting close!
Over to their right, the remaining musketeer now has a clear shot atone of the wounded beasts
From the village, Old Mother Bankes sees her beloved pet fall and frantically calls off Rogue to save him
With his men reloading their muskets Sgt Jones attacks the remaining zombie with his halberd (they don't like it up 'em), and Rogue pelts along the hedge and presents a difficult target (moving fast and in cover) so the parting shots from the musketeers are futile.
Just then the terrifying nocterlinger bursts from cover and charges sergeant Jones,

and once more the God Of The D6 decided to be fickle - the nocterlinger failing to land a blow on the valiant sergeant, who in turn was unable to strike his foe and the round of Fisticuffs was a stalemate.

Then a single musket shot rings out.....
....and Old Mother Bankes took to her broom as the corpse of the noctelinger fell among the carnage in Arithdale.
After the action, Captain Jessop's men searched the village for survivors but found none - which explained the lack of communication with All Hallows that the recently deceased Preacher Samuel was so concerned about.
After burning the afflicted bodies on Hugo's advice, and finding a hand cart at the millers cottage, the Trained Band loaded up the corpse of the musketeer killed by the barghest and set off to give him a burial in sacred ground back at All Hallows.
Hugo spent the whole journey pondering the best course of action to deal with the scourge afflicting the area, and agreed with Captain Jessop that they needed the assistance of a Witchfinder........ but where does one find a Witchfinder in these troubled times?

Many thanks for reading post number One Hundred and One, and what will probably be my last post for 2018, so may I take this opportunity to wish you all the very best for the coming New Year - I'm off to pour myself a glass right now and shall be raising it to toast you all!!